Overview
Because cPanel, L.L.C. doesn’t develop or ship these applications, cPanel Technical Support can’t help you set this up.
- cPanel’s Calendars and Contacts interface only appears if the server administrator installs the Calendar and Contacts Server plugin.
- Do not use your web browser to navigate to the URLs that cPanel’s Calendars and Contacts interface displays. They do not contain human-readable information.
- We strongly recommend that you use secure HTTP (
https) for your connection. - If your server uses a self-signed certificate, your application will prompt you with the message Cannot Verify Server Identity. Tap Continue to complete the set up process.
This article describes how to set up cPanel calendars and contacts on Apple® desktop, mobile device operating systems, and in Roundcube 1.5 using CalDAV and CardDAV.
On Android™ devices we recommend using Exchange ActiveSync to set up calendars, contacts, and email. For more information, read our How to Sync Calendars, Contacts, and Email on Android Devices documentation.
Configuration information
You can find your calendar (CalDAV) and contacts (CardDAV) setup information in cPanel’s Calendars and Contacts interface (cPanel » Home » Email » Calendars and Contacts). For example:
- Server —
example.com:2080 - User Name —
exampleoruser@example.com - Password —
123456luggage - Description —
My Calendars
cPanel’s Calendars and Contacts feature does not function with the iOS® Reminder application if your server uses a self-signed SSL certificate.
Calendar delegation
You can manage calendar delegations through cPanel’s Calendar Delegation interface (cPanel » Home » Email » Calendar Delegation). This feature is useful for the following reasons:
- Create an account for a resource (for example, a conference room) and allow others to reserve it.
- Allow a manager to view their subordinates’ calendars.
- Allow an assistant to manage a manager’s calendar for them.
Set up calendar and contact applications
iOS®
Specific attributes of this tutorial may vary with future Apple product versions.
Perform the following steps to access the calendars (CalDAV) and contacts (CardDAV) account configuration menu on your iOS device:
To access or set up CalDAV
To access the account configuration menu, perform the following steps:
- Tap Settings.
- Tap Calendar to add a calendar account.
- Tap Accounts.
- Under ACCOUNTS, tap Add Account.
- Tap Other.
- Under CALENDARS, tap Add CalDAV Account to add a calendar account.
To access or set up CardDAV
- Tap Settings.
- Tap Contacts to add a contacts account.
- Tap Accounts.
- Under ACCOUNTS, tap Add Account.
- Tap Other.
- Under CONTACTS, tap Add CardDAV Account to a contacts account.
Enter your account information
To complete the setup of your account, enter your information in the appropriate text boxes.
You must add port 2080 at the end of the server’s hostname for the setup to work correctly. For example, example.com:2080.
macOS®
Specific attributes of this tutorial may vary with future Apple product versions.
Perform the following steps to access the calendars (CalDAV) and contacts (CardDAV) account configuration menu on your Apple computer:
Access the account configuration menu
- Click Launchpad, and then click System Preferences.
- Click Internet Accounts.
- Click Add Other Account….
Add the appropriate account type
Click CalDAV Account to add a calendar account, or CardDAV Account to add a contacts account. Then, click Create.
Enter your account information
To complete the setup of your CalDAV or CardDAV account, use one of the following methods:
Automatic
To automatically complete the setup of your account, enter your information in the appropriate text boxes. Click Sign In to save your changes.
- For calendar accounts (CalDAV), you must select Automatic from the Account Type menu.
- To use the Automatic account type, your hosting provider must enable the Thunderbird and Outlook autodiscover and autoconfig support (enables service subdomain and SRV record creation) setting in the Domains section of WHM’s Tweak Settings interface (WHM » Home » Server Configuration » Tweak Settings).
Manual
To complete the setup of your account manually, perform the following steps:
- In the Account Type menu, select Manual.
- Enter the account information in the text boxes.
- Click Sign In to save your changes.
Advanced
To complete setup of your account using the Advanced option, perform the following steps:
- In the Account Type menu, select Advanced.
- Enter the account information in the text boxes.
Note:
- You can locate the CardDAV and CalDAV Server Path information in Webmail’s Configure Calendar and Contacts Client interface. Use the URL provided in the Secure SSL/TLS URLs table’s Address Book and Calendar rows, respectively.
- The Server Path text box only requires the information provided after the server’s port address. For example, to add a CalDAV Server Path, use the
/calendars/username/calendar:RANDOMUIDformat, whereusernameis the account name, andcalendar:RANDOMUIDis the provided UID.
- Click Sign In to save your changes.
Other operating systems
- We have only tested these steps on Apple®-distributed products. These clients natively support CalDAV and CardDAV. If you use other calendar or contacts applications that support these protocols, you might be able to access your calendars and contacts from those applications. Your application must support the CalDAV and CardDAV protocols.
- On Android devices, we recommend using Exchange ActiveSync to set up calendars, contacts, and email. For more information, read our How to Sync Calendars, Contacts, and Email on Android Devices documentation.
Access your application’s configuration interface
Perform the necessary steps to access the calendars (CalDAV) and contacts (CardDAV) account configuration interface for your application. These steps vary between applications. For more information, read your application’s documentation.
Enter your account’s information
In the following examples, example represents a user name, and example.com represents a domain name. Enter the following information:
- Username — Your cPanel account user or webmail user.
- cPanel account user —
example - Webmail user —
user@example.com
- cPanel account user —
- Server — The full URL to the user’s calendar or contacts.
- Autodiscover —
example.com - Non-Autodiscover cPanel account or webmail user —
https://example.com:2080/calendars/__uids__/132E0D5F-77F2-4A15-B888-B0741C57F938/calendarNote:- Replace
132E0D5F-77F2-4A15-B888-B0741C57F938with the actual UID (Unique Identifier) from the URL in the Calendars and Contacts interface (cPanel » Home » Email » Calendars and Contacts). - If your application does not support Autodiscover, use the non-Autodiscover URL.
- Replace
- Autodiscover —
- Password — The cPanel account or webmail user’s password. For example:
12345password
Roundcube for desktop
Roundcube’s database stores the internal calendar’s data. You can also add a CalDAV calendar to Roundcube. This version of Roundcube includes a mobile-responsive theme.
Access your calendar application’s configuration interface
Perform the necessary steps to access the calendars (CalDAV) and contacts (CardDAV) account configuration interface for your calendar application. These steps vary between calendar applications. For more information, read your calendar application’s documentation.
To access the CalDAV calendar in Roundcube, perform the following steps to obtain the CalDAV URL:
- In the Calendars and Contacts interface (cPanel » Home » Email » Calendars and Contacts), scroll to the Direct CalDAV and CardDav URLs for Calendars and Contacts section.
- Highlight and copy the URL for the Calendar type that you wish to use from the list.
Note:
We recommend that you use URLs from the Secure SSL/TLS URLs list.
The non-Autodiscover CalDAV URL should resemble this example:
https://example.com:2080/calendars/__uids__/132E0D5F-77F2-4A15-B888-B0741C57F938/calendar
Log in to Webmail and then to Roundcube
To log in to Webmail, you can use either of the following methods:
-
Navigate to
https://example.com:2096in your browser. In this example, replaceexample.comwith the domain for your email address. For more information, read our How to Log in to Your Server or Account documentation. -
Navigate to cPanel’s Email Accounts interface (cPanel » Home » Email » Email Accounts). Then, locate the email account in the table and click Check Email. The Webmail interface will open in a new browser tab.
After you first log in, the Webmail interface will appear.
cPanel & WHM ships with the Roundcube webmail client. Roundcube is cPanel & WHM’s default webmail client.
If Roundcube is not your current webmail client, click Roundcube’s logo or text description. You will see it in the Open your inbox section of the Webmail interface.
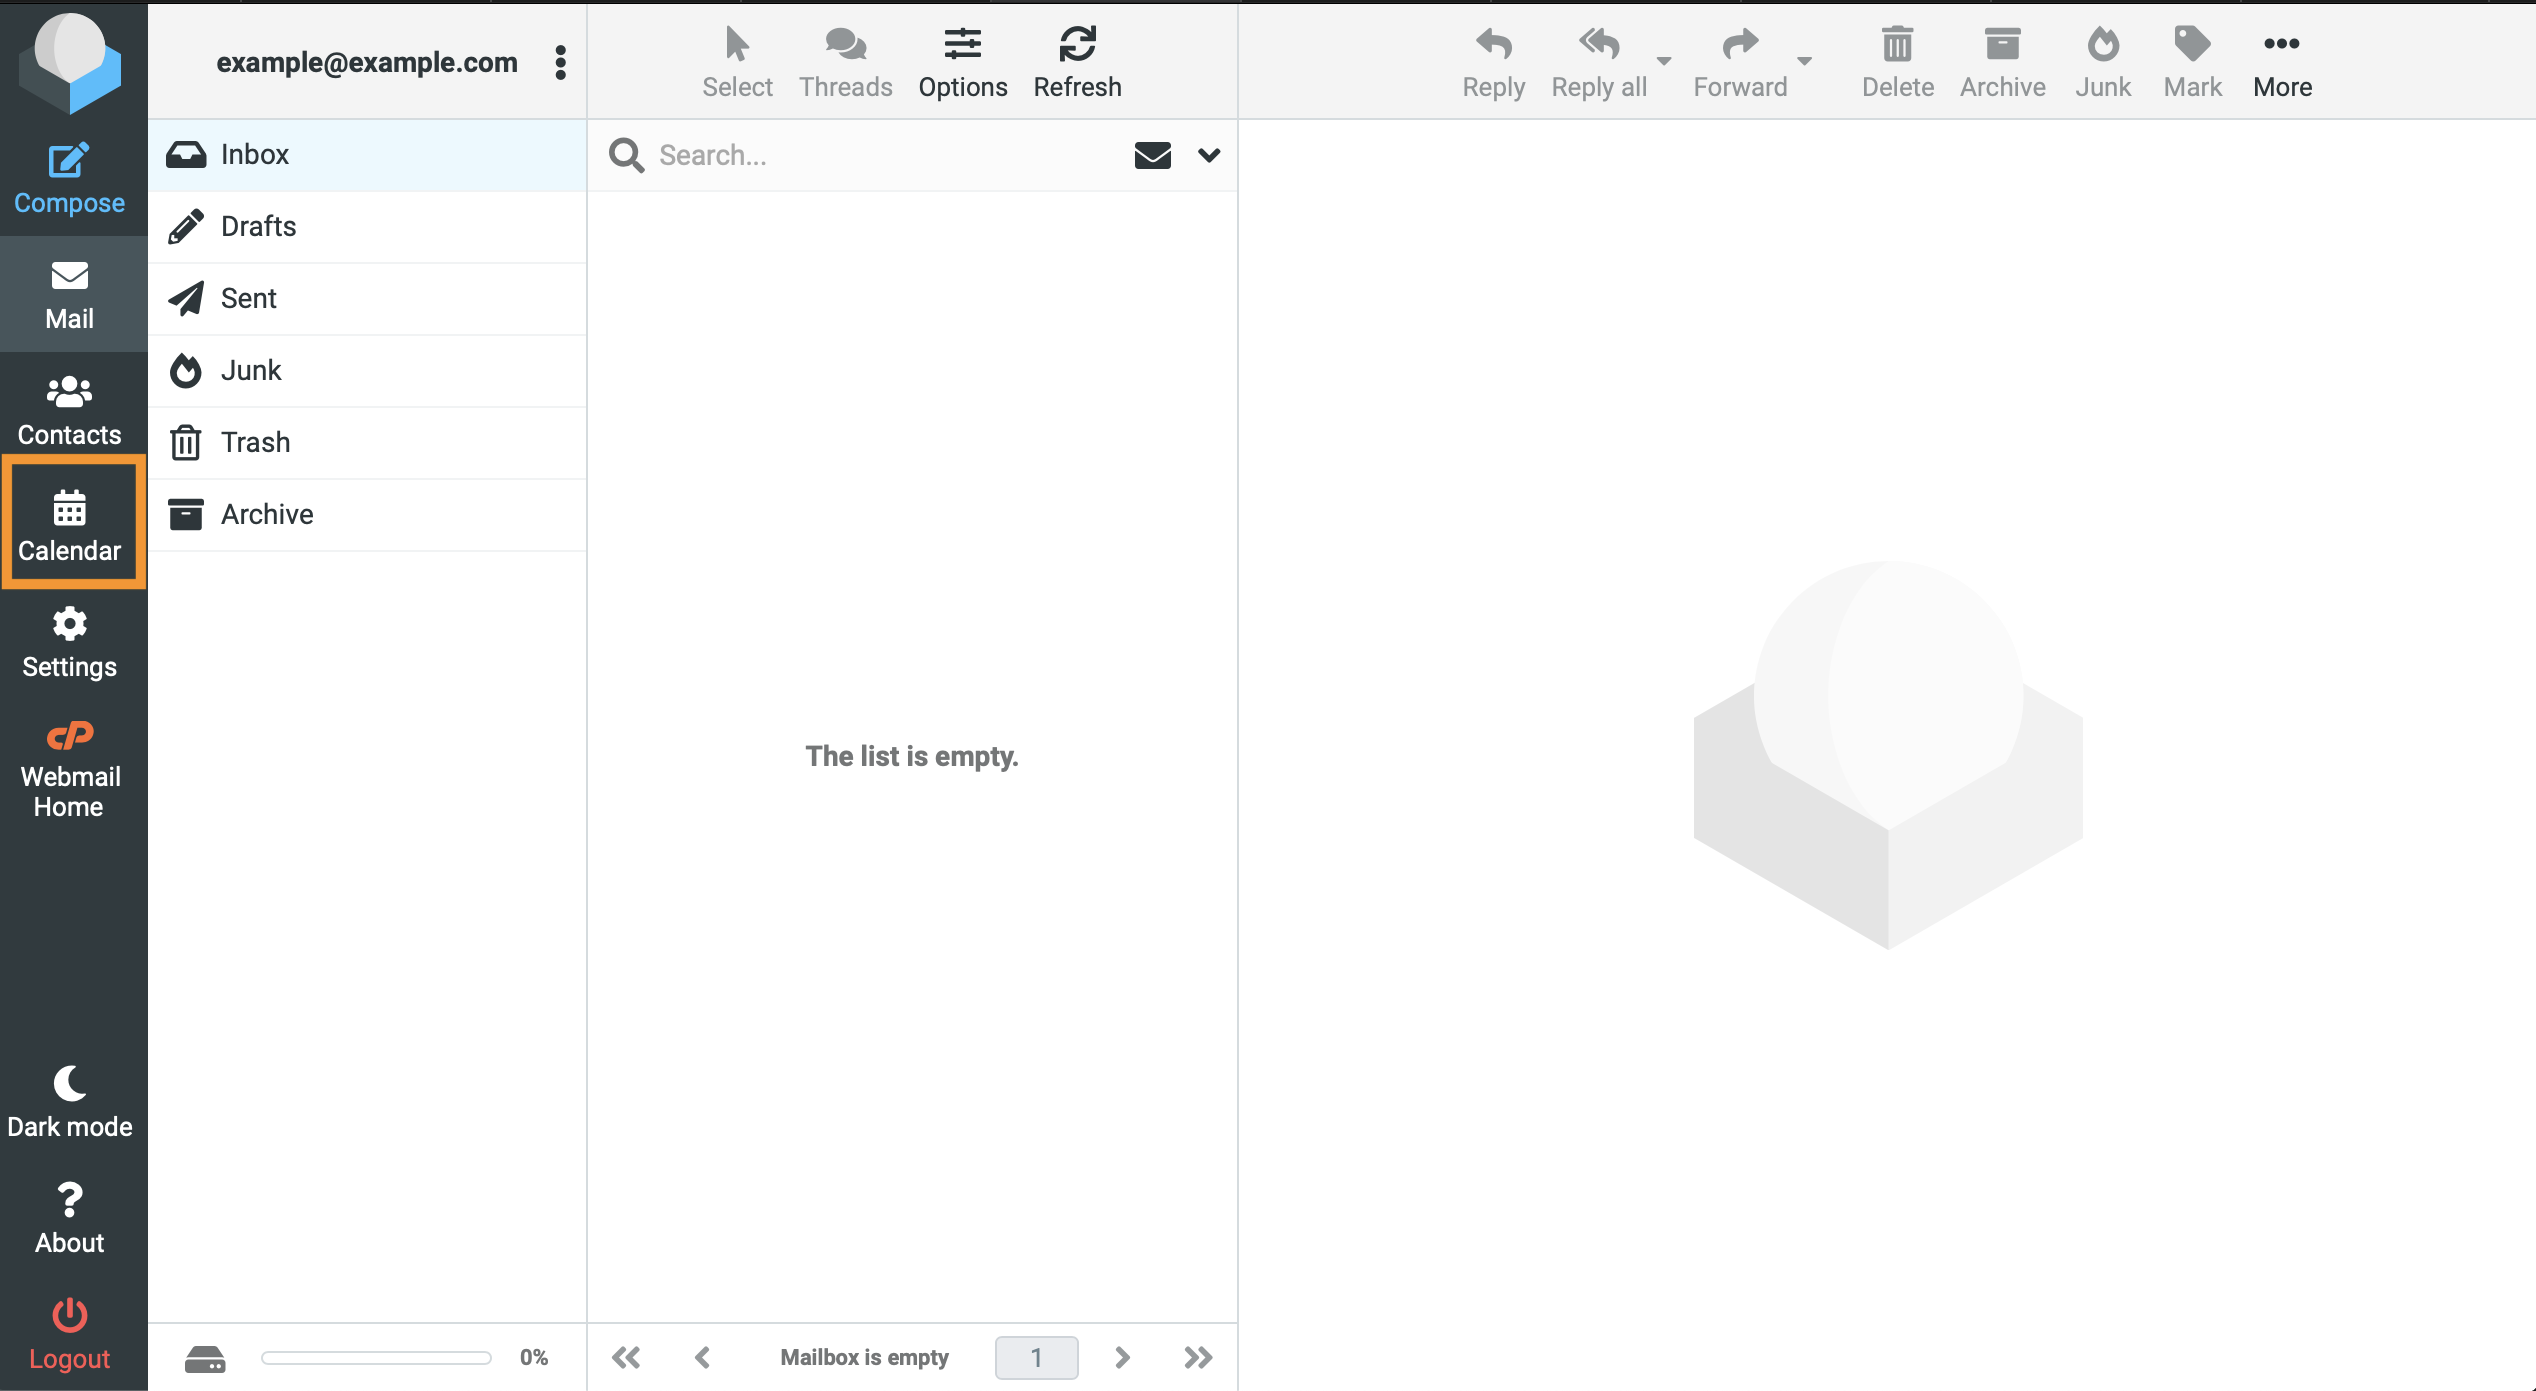
Navigate to the Roundcube Calendar interface
In the Roundcube interface, click Calendar on the left menu. The calendar interface will appear.
Add the CalDAV calendar to Roundcube
-
In the Roundcube Calendar interface, navigate to Calendars at the top of the interface. Click the menu (
 ) icon. A menu will appear.
 -
Select
 Add Calendar from the menu. The Create new calendar interface will appear.
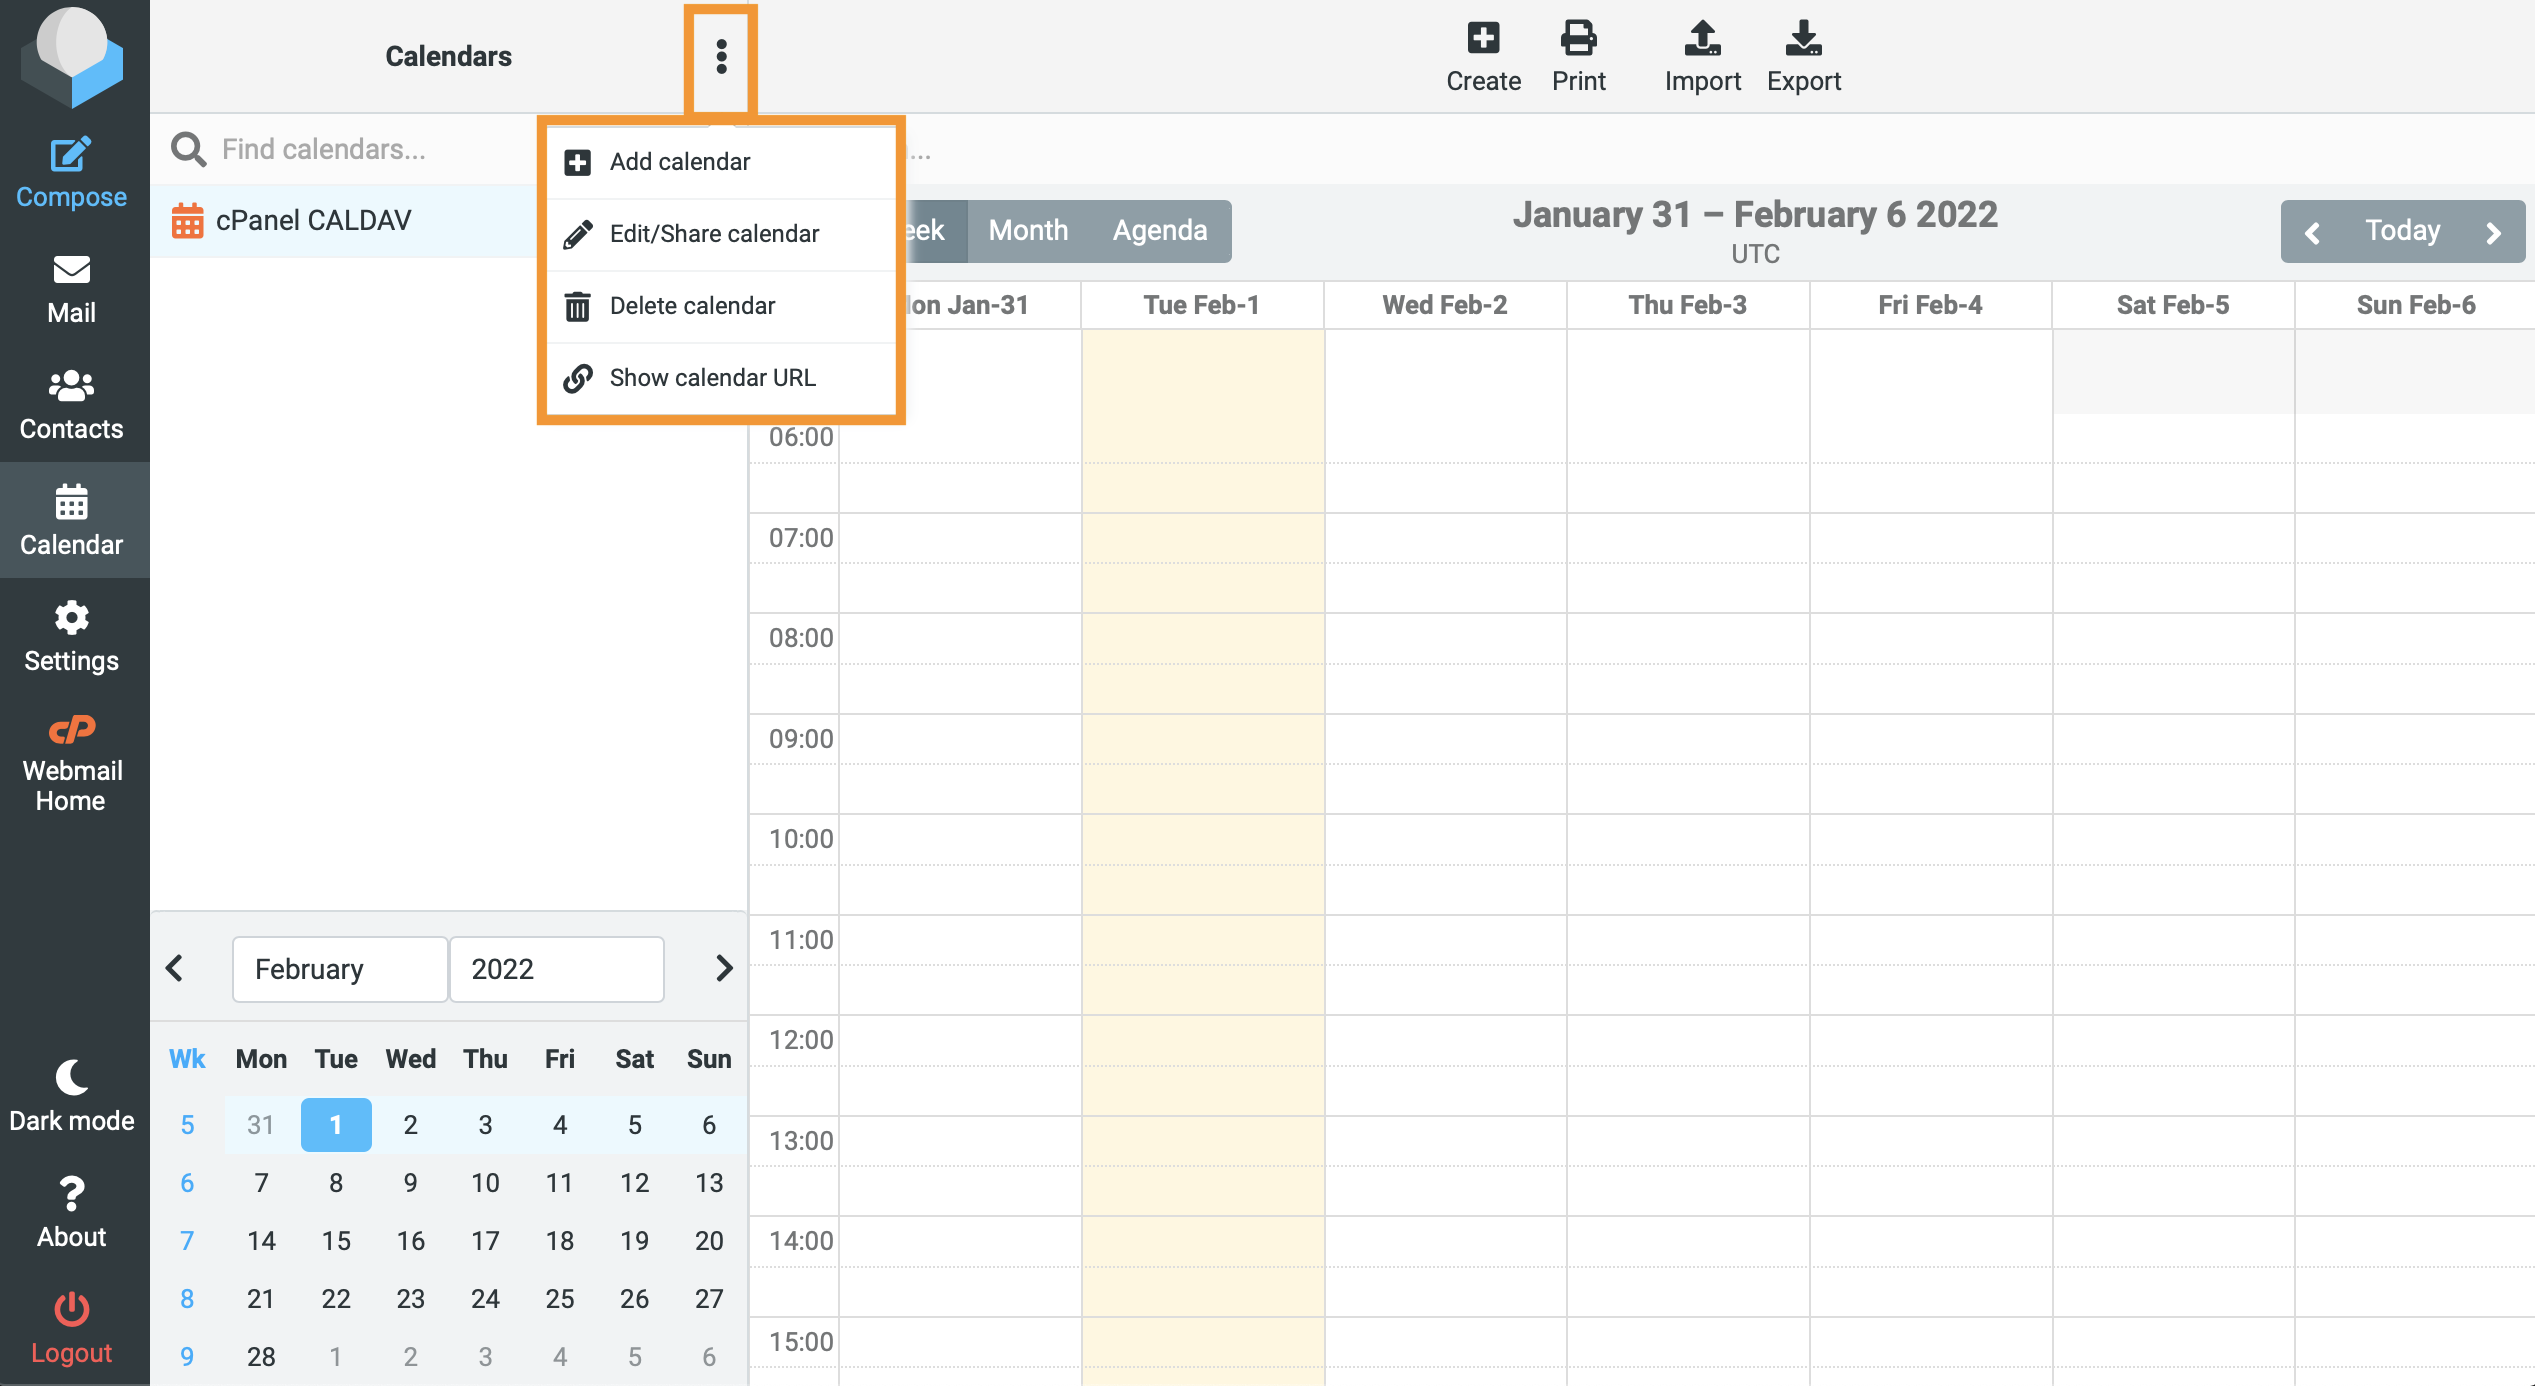
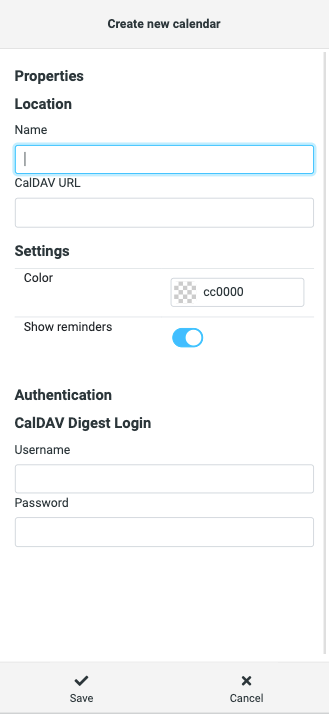
-
In the Properties section, enter a calendar name in the Name text box.
-
Paste the calendar URL that you copied in step 2 in the CalDAV URL text box.
-
Adjust the calendar color and whether to show reminders in the Settings section.
-
Under Authentication, enter the username and password of your CalDAV digest.
-
Click Save. The Roundcube Calendar interface will automatically upload the calendar.
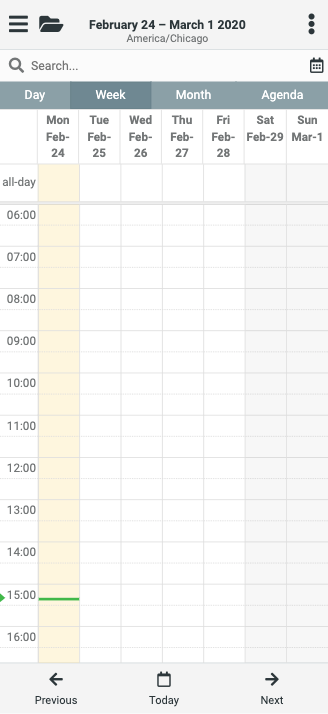
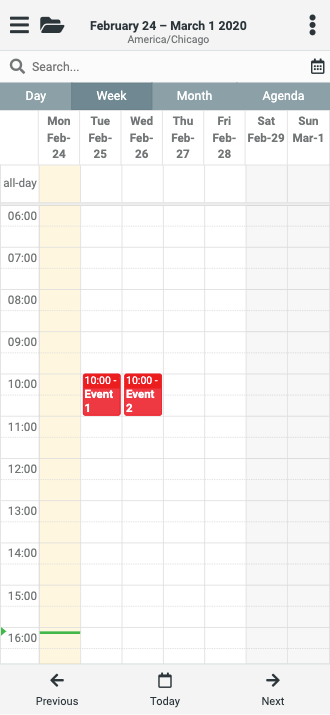
Note:You will see calendar events for the current week.
To add an event to the calendar, double-click anywhere on the calendar. A New event interface will appear.
Roundcube for mobile devices
To add a CalDAV calendar to Roundcube for mobile devices, perform the following steps:
Access your calendar application’s configuration interface
Perform the necessary steps to access the calendars (CalDAV) and contacts (CardDAV) account configuration interface for your calendar application. These steps vary between calendar applications. For more information, read your calendar application’s documentation.
To connect the CalDAV calendar to Roundcube, perform the following steps to obtain the CalDAV URL:
- In cPanel’s Calendars and Contacts interface (cPanel » Home » Email » Calendars and Contacts), scroll to the Direct URLs for Calendars and Contacts section.
- Highlight and copy the URL for the Calendar type that you wish to use from the list.
Note:
We recommend that you use URLs from the Secure SSL/TLS URLs list.
The non-Autodiscover CalDAV URL should resemble this example:
https://example.com:2080/calendars/__uids__/132E0D5F-77F2-4A15-B888-B0741C57F938/calendar
Log in to Webmail and then to Roundcube
To log in to Webmail, you can use either of the following methods:
-
Navigate to
https://example.com:2096in your mobile browser. In this example, replaceexample.comwith the domain for your email address. For more information, read our How to Log in to Your Server or Account documentation. -
Navigate to cPanel’s Email Accounts interface (cPanel » Home » Email » Email Accounts). Then, locate the email account in the table and click Check Email. The Webmail interface will open in a new browser tab.
After you first log in, the Webmail interface will appear. cPanel & WHM ships with the Roundcube webmail client. Roundcube is cPanel & WHM’s default webmail client.
If Roundcube is not your current webmail client, click Roundcube’s logo or text description. You will see it in the Open your inbox section of the Webmail interface.
Navigate to the Roundcube Calendar interface
-
At the top of the Roundcube interface, click the menu (
 ) icon to open the main menu.
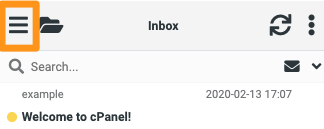
-
Select Calendar. The calendar interface will appear.
Add the CalDAV calendar to Roundcube
-
In the Roundcube Calendar interface, navigate to Calendars at the top of the interface. Click the menu (
) icon. A menu will appear. -
Select
Add Calendar from the menu. The Create new calendar interface will appear.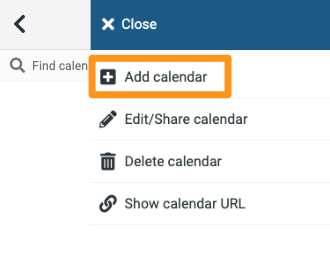
-
In the Properties section, enter a calendar name in the Name text box.
-
Paste the calendar URL that you copied in step 2 in the CalDAV URL text box.
-
Adjust the calendar color and whether to show reminders in the Settings section.
-
Under Authentication, enter the username and password of your CalDAV digest.
-
Click Save. The Roundcube Calendar interface will automatically upload the calendar.
Note:You will see calendar events for the current week.
To add an event to the calendar, double-click anywhere on the calendar. A New event interface will appear.
